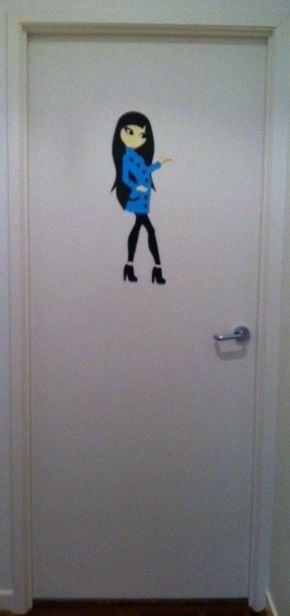
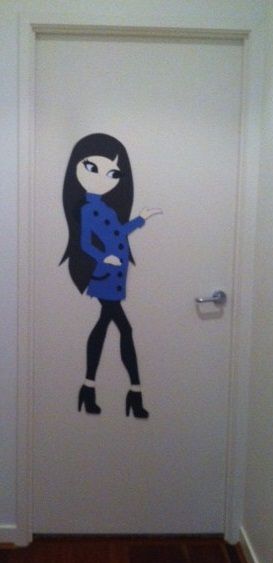
I recently posted about an almost life size Paper Doll Teen Scene that I made for my daughters room. I received a question from Nancy about the correct way to place the layers from this cart. She said:
"I just bought this cartridge, and am having problems layering so the eyes come out right. I tried making the 5" tall doll, and it comes out looking like an alien. Can you tell me how to layer it so the eyes work? Nancy"
So I thought I'd put together this tutorial. This will work whether you're using the cartridge directly in the Cricut or whether you're using Design Studio, Cricut Craft Room or the Gypsy.
For this example I'll be using the first image key on the top row of the cartridge. You'll notice that all the dolls on the top row of the cartridge are all facing in the same direction. This means that you can mix and match any of the hairstyles and clothing items with any of the dolls on that row.
The same applies to each of the other rows. So long as the doll is facing in the same direction you can use any of the hairstyles or clothing on any doll on that row.

The first thing you need to do is look at the cartridge handbook.

The order in which the images appear in the handbook is the order in which you will layer them - from the bottom to the top.
The rest of the layers are wardrobe and accessories and are layered on top of the 4 other layers.
The layer numbered 1 in the picture above should be cut in what ever colour cardstock you want the hair to be, as that is the only part of that layer that will be visible.
Layer number 2 (the <Shift> of layer 1) should be cut from white cardstock as that layer only shows the white of the eyes.
Layer number 3 would normally be cut in black. This layer only shows the pupils of the eyes and the eyelashes. You could cut this layer in blue, brown or green but note that the eye lashes will also be that colour.
Layer 4 (the <Shift> of layer 3) should be cut in the colour that you want the skin to be.
This is what your 4 layers will look like when you have cut them. At this point she does certainly look like an alien.

Before you adhere them together move the fringe (you call them bangs, right??) so it's the last image. Like this:

Now adhere your layers together. The image on the left will be the bottom layer. The white will go on top of that, then the black, then the skin tone and finally the hair piece.
Now she will look like this:

The rest of the layers are the dolls clothing (including shoes) and any accessories. Each doll has two clothing options. However, as I said above, you can select any outfit from any key on the same row and they will fit your doll.
Here she is in her bikini:

And her (I think) PJ's:


I hope that helps anyone who is having trouble putting together these dolls!
Have fun with this fantastic cartridge.