
Some time ago I wrote a tutorial on using stamped images with Silhouette Studio. Since then, from corresponding with Irina from La-La land stamps, I have learned that doing that is against the copyright of the image. For that reason I have removed that tutorial from my blog.
However, Irina did say that using a digital La-La Land image (that you have obtained legally) with the Silhouette is OK. (Check with the artist/seller of any other digital images to make sure.)
Thanks Irina for helping me through the copyright minefield. :)
So here's a new tutorial on how you can take a digital stamp image and "fussy cut" it using Silhouette Studio.
The digital image I'm using in this tutorial is Sweetheart Marci from La-La Land Crafts.

- Open Silhouette Studio and click the Page Tools button

- Select the size of the paper you are going to print your image on.

If you only want one copy of the image you could change the Width and Height settings to 4:00" x 6:00" and use the photo drawer of your printer to print your image. (Just cut your cardstock down to 4" x 6".)

Or, if you're lucky enough to have a 12x12 printer you could select 12" x 12" from the Printer Settings box.
You'll see the screen change to reflect the printer size you have selected.

- Select File, Merge.
- Navigate to the location where you saved your digi file and from the 'Files of type' box select All Files and select your file. Press OK
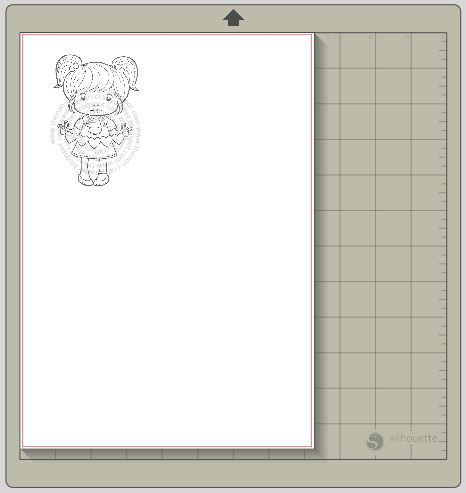
- Use the Zoom button on the toolbar to get a better view of the image.


Now you're ready to trace the image.
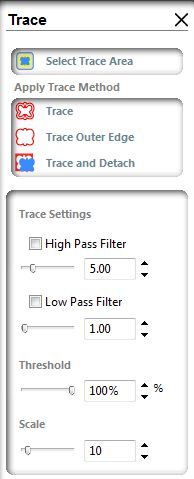
- Click the Trace button

- Click the Select Trace Area button
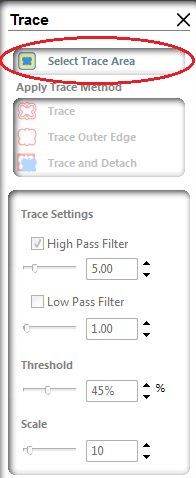
- Click down and drag your mouse around the image.
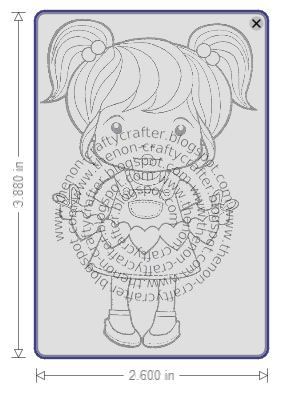
- Zoom in again so you can see the image clearly.
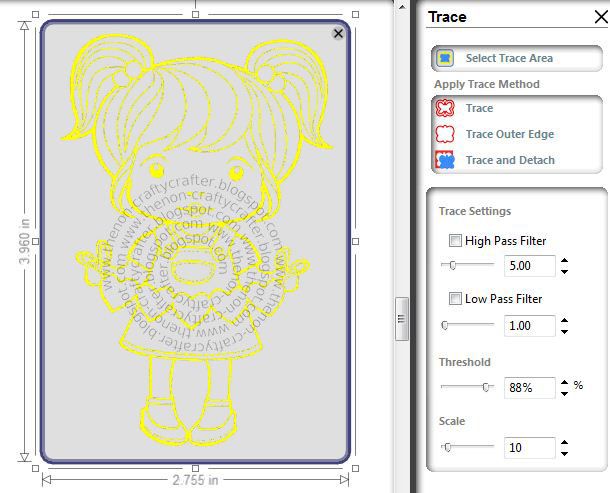
- With image still selected un-check Hi Pass filter from the Trace settings window and move the Threshold bar up to 100%.
Your image should look a bit like this:

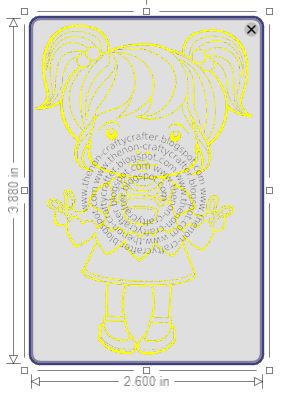
- Start moving the Threshold bar back slightly until the outer edge of the image is nice and clean.
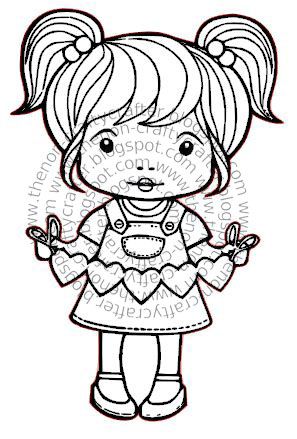
- Click the Trace Outer Edge button

The image will have a red border around the edge. (It's hard to see but it is there..)
Now we're ready to make the offset for the image. This is so we don't have to fussy cut it!
- Click inside the stamped image and move it to the side. (Don't delete it as you'll need it later.)
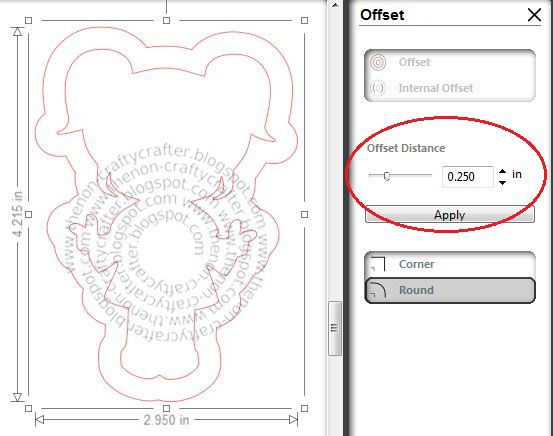
- Click the Offset Window button

- Click on your red outline image and click Offset

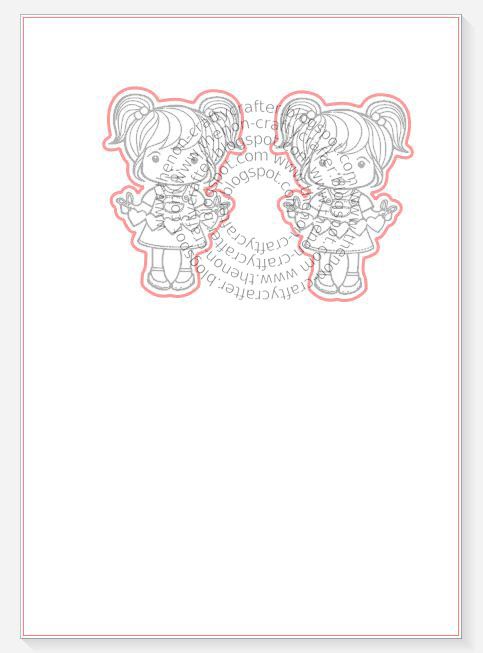
A red line will appear around the image. The default Offset (shadow) is 0.250".
- Use the Offset Distance number to change size of the offset. I generally use a size of 0.100". It really depends on how close to the image you like to cut.
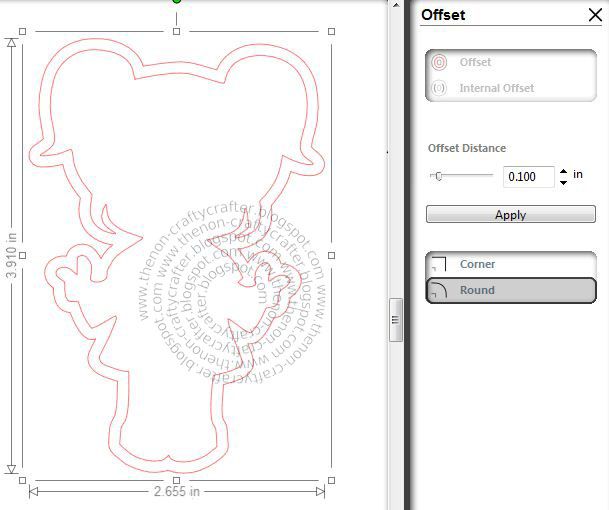
- When you're happy with the size press the Apply button or press Enter.
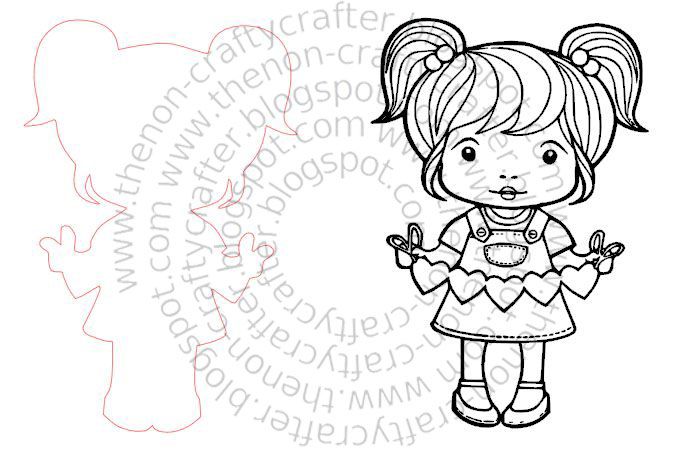
- Select the original inside red shape, move it to the side (to make sure you've got the right shape) and delete it.
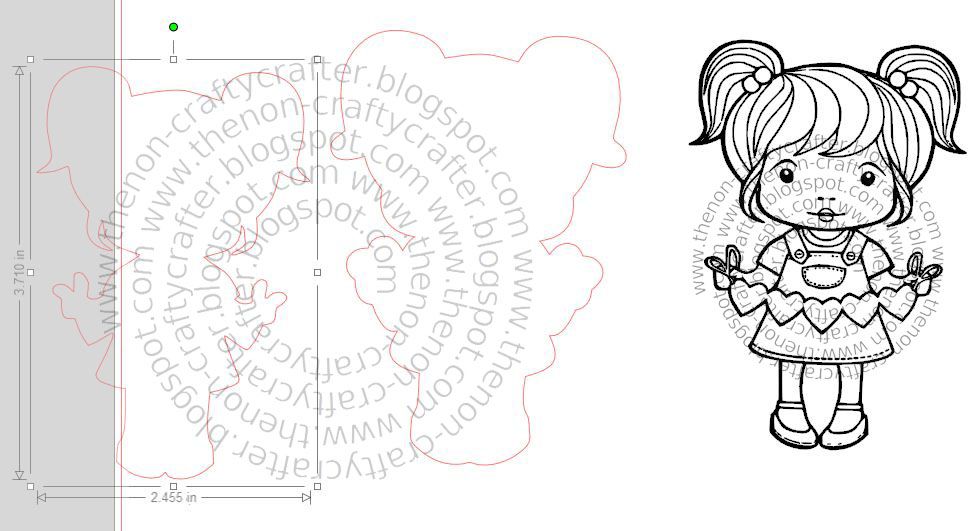
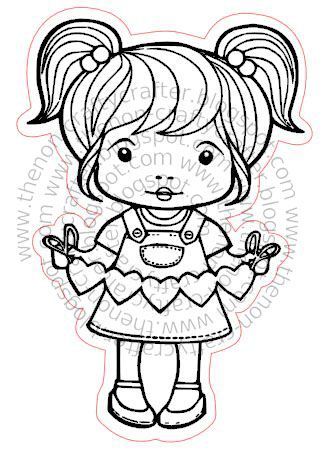
- Select the black image and position it back inside the offset image. You now have your image and its shadow.
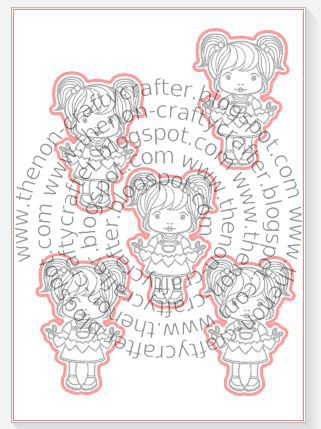
Next we'll duplicate the image. (If you only want to cut the image once you can skip this part.)
- Zoom the mat out so you can see the whole page
- Drag a box around the entire image so that both parts (the image and the offset) are selected.
- Select Edit, Copy (or Ctrl C) to copy the image to the clipboard
- Select Edit, Paste (or Ctrl V) to paste a copy of the image onto the mat.

- Drag the pasted image to another spot on the mat
- Use Ctrl V again to paste another image to the mat and move it to another vacant spot on the mat
- Continue pasting the image to the mat. In my case I can fit 5 on the mat (maybe more if I rotated some of them.) If your image is smaller you'll obviously be able to fit more.
Setting up the Registration marks
- Click on the Registration Marks Settings toolbar button

- Check the Show Registration Marks box
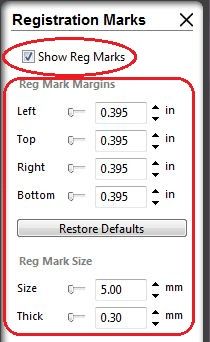
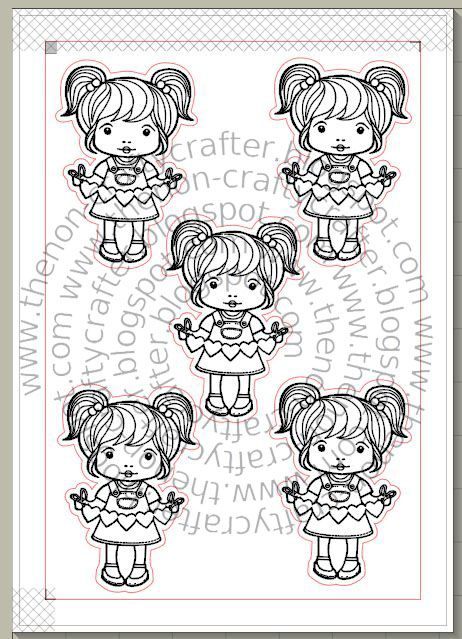
The registration marks will appear on your mat.
If you need more room to fit your images you can reduce the position and size of the registration marks by changing the Reg Mark Margins settings and the Reg Mark Size settings. (As indicated in the picture above.) I moved all the sliders to the left as far as they would go.
If the registration marks cover any part of your images you will need to move those images away from the registration marks.
- Save your file!
Your stamped image is now ready to print and cut.
Printing and cutting the images
(You might want to do a test cut using printer/scrap paper before using your good blending cardstock. Just don't stick it down on the mat too hard or you might find it hard to remove!)
- Press the Send to Printer button

- If you are using any size paper other than your usual default size change your preferences to that size.
- Press Print
- When your print out is finished press the Send to Silhouette button on the toolbar

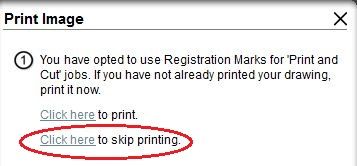
- As you've already printed your image press Click here to skip printing
- Follow the instructions at the next screen regarding where to set the rollers and where to place your printout on the mat
- Press the Load Cutting Mat button on your Silhouette
- Press the Continue button on the Send to Silhouette screen

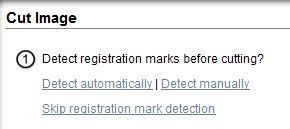
- At the Cut Image screen select Detect Automatically.
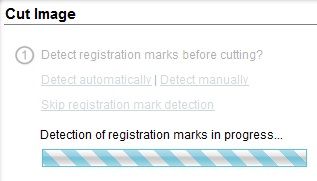
The Mat will be loaded into the Silhouette and the registration marks will be detected.
- Once that is completed press Change Settings if you need to change your paper type
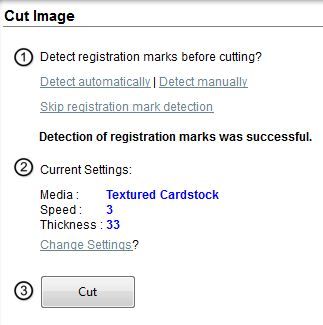
- When complete press the Cut button

When the Silhouette has finished cutting press the Enter button to unload your mat and admire your work!

You can save this file to use again and again. Just open the file and do the Print and Cut parts of the tutorial.
Happy colouring!

11 comments:
Thank you so much for this wonderful CLEAR tutorial Narelle! It is features and tutorials like this that have me interested in purchasing a Cameo soon. I already have the software installed so I can play a bit. And this is all despite owning 3 Cricut Expressions and 260+ cartridges (which I still use and love). But each product has unique features that don't really overlap. So I need both! (This same theory is the explanation for why I have 3 sewing machines...) Thanks again! I look forward to every blog post!
-- Susan
Thank you so very much. I was wondering how people were using them in the Silhouette program.
D~
http://designsbydragonfly.blogspot.com
Thanks for such an awesome tutorial... Or maybe I shouldn't thank you because now I want a Cameo!!! I will have to be very good and hope Santa will be nice to me :)
This is great Narelle. I have seen some tutorials on YouTube but it is so much easier with step by step instructions that you don't have to pause and catch up to!! Is it okay to print it out? I see you have protected Irina's image so am hoping it is!!
Wonderful tutorial Narelle!!
Thank you so much for this very clear tutorial. I have just purchased a cameo and this is wonderful, I will definitely keep this in my files.
Fabulous tutorial.
Have a creative day.
Hugs Nana
♥ My Crafting Channel ♥
♥ 2 Creative Chicks ♥
♥ Silhouette Challenges ♥
Wonderful tut, Narelle! TFS! :-)
Fabulous! I was wanting to find out how to do this and you have made it so easy!! Thanks Heaps!
Just found this tut!! You did a fantastic job on this!! Thanks so much for the help!!!!!!!!
Your tutorial is so clear and complete! Can not wait to find more of your tutorials on the Cameo.
Post a Comment