Wednesday, May 9, 2018

Cricut Craft Room is closing

In case you didn't receive the memo, Cricut Craft Room (CCR) is closing on July 15, 2018.  CCR was built using Adobe Flash which Adobe no longer supports.


That means if you have a Cricut Personal, Cricut Create/Cake, Expression/Cake, Imagine, E2 or Cricut Mini they will no longer be able to be used online with Cricut software.

All of the above, with the exception of the Cricut Mini, can be used as a standalone machine using the physical cartridges.

Cricut are offering legacy machine owners who have not yet upgraded to an Explore $75 off an Explore or Explore bundle from Cricut.com.

To qualify you must be an active Cricut Craft Room user and you must have created your Cricut Craft Room account before April 28.  If you did qualify you should have received an email from Cricut.

There is a lot more information available here: http://inspiration.cricut.com/cricut-craft-room-closing/

For those who own the Personal, Create or Expression (plus the Cake versions) and own Sure Cuts a Lot V2, you will still be able to use your machines with that software. The same applies to the older version of Make the Cut.

Sure Cuts a Lot 4 or Make the Cut V4 does not work with any of the Cricuts.

Happy crafting!  ♥


Tuesday, May 8, 2018

Mixed Media project - Wine o'clock

Here's my "Cricut meets Mixed Media" project for this week.


You have to look closely to see where I used my Cricut in this one.  Behind the "It's wine o'clock somewhere" text you'll see a stencilled clock face.  I used an image from Design Space (image #M3CB55.) It's from the Edge to Edge cartridge and is included in Cricut Access.

I also used Design Space to create my Print then Cut sentiment. To make sure my text is the correct size I take a photo of my project and upload it into Design Space. I set the size of the image to be the same as the actual project (in this case my book is 12" x 9" when open) then add my text and size it accordingly.


I add white rectangles behind my text, then flatten the text to the rectangles to do the Print then Cut.  Sometimes I just stop at the printing step and cut the rectangles by hand.

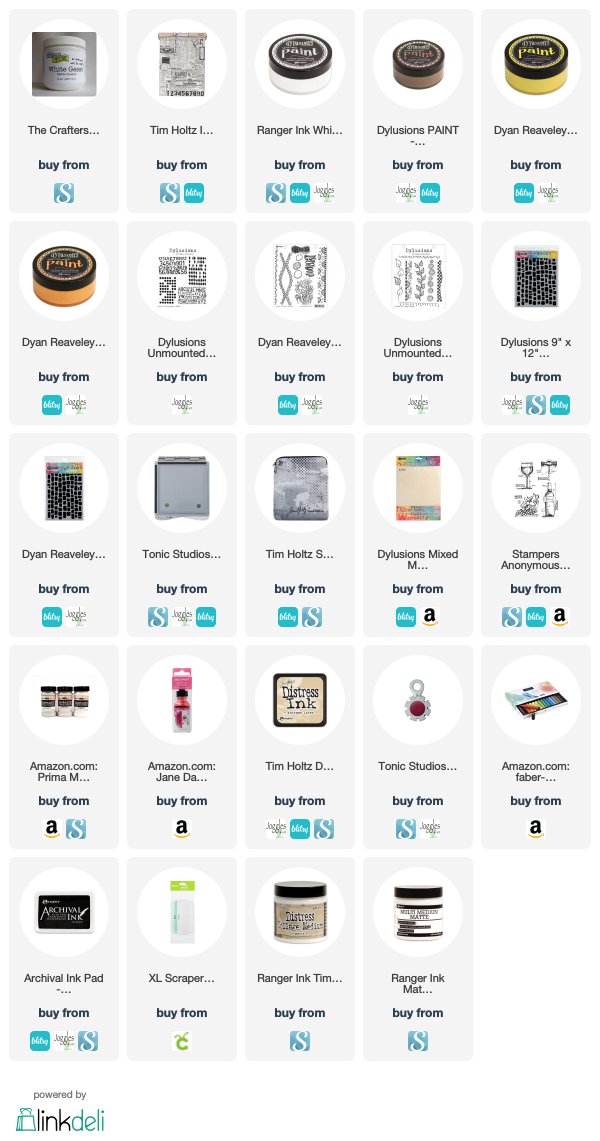
Lots of Tim Holtz Distress inks in this project, as well as his Wine Blueprint stamp set.

I recorded a step by step video of the process. I think editing and uploading the video took longer than it did to create the project! ☺


Please let me know if you have any questions.  Don't forget to head over to my Facebook group to check out our other "Cricut meets Mixed Media" projects.

All the products I used are listed below.  These are affiliate links and I will receive a small commission (at no cost to you) if you purchase a product after clicking that link.  ♥


Happy crafting!  ♥


Wednesday, May 2, 2018

Cricut Maker Knife Blade

For those who own the Cricut Maker, you've probably been hanging out for the Knife blade to be released.  Well, that day has finally arrived!


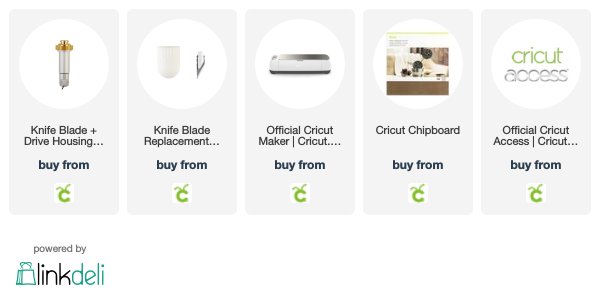
The Knife Blade + Drive Housing is $39.99 and replacement blades are available for $16.99.

Some of the materials you can expect to cut with the Knife blade are:

  •           Balsa wood, up to 3/32”
  •           Basswood, up to 1/16"
  •           Tooling leather, up to 7 oz
  •           Garment leather, up to 5oz
  •           Cricut® Chipboard, 2mm
  •           Matboard, 2-ply or 4-ply
  •           Craft foam, up to 3mm

The Knife blade is not recommended for cutting images or details smaller than ¾”.

If you've been holding off purchasing the Maker until the Knife blade was released there are two great Maker bundles available from Cricut right now.

You can purchase your Maker or Knife blade by clicking on the affiliate links below.  Purchases made through these links may earn me a small commission at no cost to you. 💚

If you're a Cricut Access subscriber you will save 10% on your order. If you are a Cricut Circle member you'll save another 10% and get free US shipping.

Please note that my NARELLE discount code does not work with these items.  However if you add another consumable item (for example the new Cricut Chipboard that is made just for the Maker) the NARELLE code will work. You'll save 10% on that additional item (though not the Maker or blades) and you'll qualify for free shipping.

If you are purchasing a Maker or Maker bundle use code ANNIVERSARY to get free US/Canada shipping. 


I would love to see any projects you create using the new Knife blade. Please post them over at Cricut Explore and More Facebook group.

Happy crafting!  ♥


Saturday, April 28, 2018

My favourite paper trimmer

I have about 10 trimmers in my craft room. Some were inexpensive and some cost a lot.  And none of them cut straight!   Except for one... my Cricut trimmer.

(This post contains affiliate links and I will be compensated if you make a purchase after clicking through my links.)

At $15 I would put this trimmer in the inexpensive category and I seriously love it.  It cuts straight first time, every single time.

This is the white Cricut trimmer... not the old green trimmer.


It has an extendable arm and can cut materials up to 15" x 12".


It also scores by swapping out the cutting blade and replacing it with the score blade.  The score blade comes packed with a spare cutting blade.

It's easy to tell the difference between the two as the score blade is black.


You can also purchase spare cutting blades in a pack of two.


There's even a spot on the underside of the trimmer to store your spare blades. Just flip the trimmer over and you'll find two handy dandy storage spaces to slide in a blade and/or score blade.


If you feel like your cuts are getting a little rough, check the channel that the blade runs through. You'll probably find some paper fragments stuck in there. Just gently run a pointy tool (eg. a weeding tool) down the channel to clear it out.

This week all Cricut tools (except for the most recently released tools) are 30% off.

That includes my other favourite Cricut tool - the XL Scraper.  I use it a lot, and not just for quickly removing left overs from my Cricut cutting mat.  I use it for smoothing down my cardstock (when I can't find my Brayer) but I also use it for cleaning the gunk off my craft mats when I'm doing mixed media.  I just squirt some hand sanitizer on the mat (both the Tim Holtz craft sheet and the new glass Media Mat), spread it around then scrape with the XL Scraper.  Everything (paint, glue etc) cleans up so quickly! 


If you purchase from Cricut make sure you use my discount code NARELLE to save a further 10% and get free shipping in the US and Canada.  If you're a Cricut Access subscriber you'll get another 10% off. Cricut Circle members get yet another 10% off.

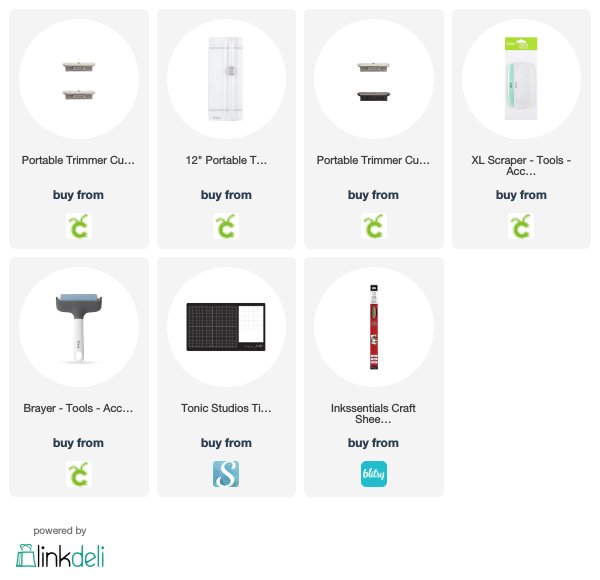
You can purchase the products mentioned in this post by clicking the affiliate links below.
Any purchases will earn me a small commission at no cost to you.  😍

Happy crafting!  ♥



Wednesday, April 25, 2018

Art Journal - "Wine does that"

**This post contains affiliate links and I will be compensated if you make a purchase after clicking through my links.

Here's my latest art journal page.   I love the quote in this one and that's what the page was based around.  I have a stamp with this quote but it was too small for the journal page so I typed it up in Word and printed it out on Mixed Media cardstock. 

The wine bottle & glass image is from the Cricut "Summer in Paris" cartridge. The image number is #M41C6B and is included in Cricut Access. 


Hope you like it! Head over to my Facebook group - Cricut Explore and More -  for more "Cricut meets Mixed Media" projects.

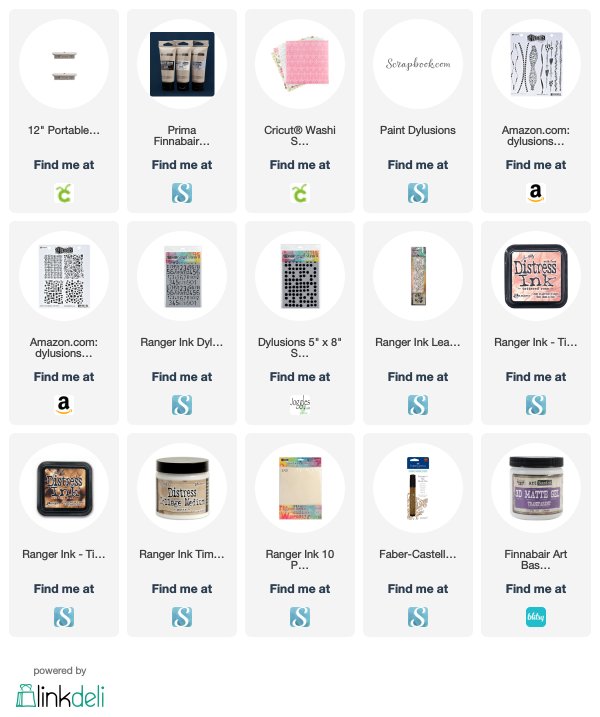
Products used:


Happy crafting!  ♥


Saturday, April 21, 2018

Bird Crazy Mixed Media project

Here's my Mixed Media project for this week. This is another double page spread from a re-purposed hard back novel.


As always I take a lot of inspiration from watching my favourite Mixed Media artists videos. This weeks project is based entirely on a project by Vicky Papaioannou. (My "Death before Decaf" project from last week was based on one of her projects too. I think I could watch her all day!)

If you look very closely you will see that under the painted layer is a Cricut Washi sheet from the Lia Griffith Woodland pack. Vicky often uses Tim Holtz tissue paper as her bottom layer. I didn't have any of that (ahem.... it's on its way though...) so I hunted through my stash so see what I could use that might be similar.

The Cricut Washi sheets were gathering dust (I find it difficult to find uses for it) so I thought I'd give it a try. It's self adhesive but I used Ranger Multi Medium Matte to make sure it stuck really well. It dried a bit wrinkly (maybe too much medium) but I think it adds to the texture.

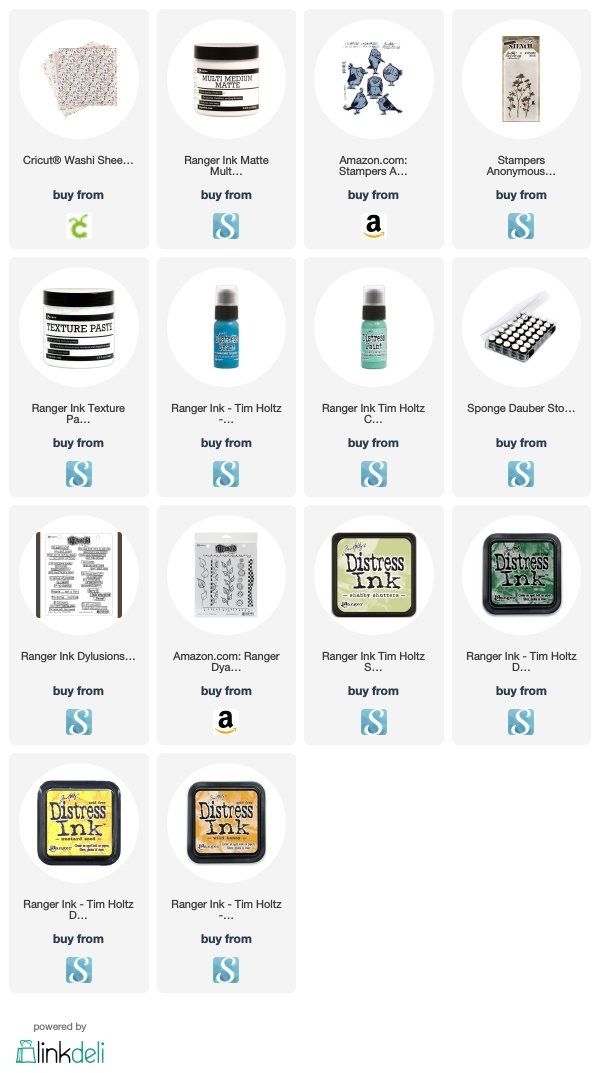
The birds are stamps from Tim Holtz (Bird Crazy) and the floral images are made using the Tim Holtz Wildflower stencil, texture paste and Distress Ink (Wild Honey, Mustard Seed, Pine Needles and Shabby Shutters) applied with daubers.

The border (Around the Edge) and the sentiment (People... Not a Fan) are Dylusions stamps.

The painted background is done using Tim Holtz Distress paint dabbers. (Mermaid Lagoon and Cracked Pistachio).

Here's a link to Vicky's fabulous video where she shows how to create her page. https://youtu.be/kPvUNSrP0Ss

Links to products used:
**These are affiliate links and I will be compensated if you make a purchase after clicking through my links. This is at no cost to you. 😊


Happy crafting!  ♥


Friday, April 13, 2018

Death before Decaf Mixed media project

**This post contains affiliate links and I will be compensated if you make a purchase after clicking through my links.

Here's my project for this weeks "Mixed Media Monday" over at Cricut Explore and More.


The stack of teacups is an image from Cricut Design Space.  The image number is #MB5DD69 and is from the "Dimensional Scenes - Tea & Cakes" digital cartridge. This cartridge is included in the Standard and Premium Cricut Access subscriptions.

The "Death before Decaf" sentiment is an SVG from Creative Fabrica.

My inspiration for this project came from two Mixed Media artists that I follow. The background is very loosely based on this video: https://youtu.be/8rI6Bu2X4NY

And the stack of teacups is inspired by this video: https://youtu.be/FOihCLI8Y7A

Some of the products I used are listed below.

Dylusions Paint - Laidback Lilac, Crushed Grape and Melted Chocolate
Prima Art Alchemy Sparks Acrylic paint - Iris Potion
Prima Art Alchemy Acrylic Paint - Metallique Dark Velvet
Tim Holtz Distress Crayons - Walnut stain, Picked Raspberry, Peacock Feathers, Mustard Seed, Festive Berries
Sharpie Water based Extra Fine Point Paint pens - Black, White
Stickles - gold
Dylusions Stencil - Sugar Lumps Small


I didn't have a "coffee stain" stamp so I created my own circles by dipping a bottle cap into my
Dylusions Melted Chocolate paint.

Hope you'll drop into Cricut Explore and More to see our Design Teams Mixed Media projects. More of our members are also getting into the Mixed Media act too and are posting their projects.

You'll find us here:  Cricut Explore and More Facebook Group

Check out Scrapbook.com for most of the above supplies. Their prices are fantastic and shipping is fast. (Even to me in Australia!)

Happy crafting!  ♥


Related Posts Plugin for WordPress, Blogger...