You may have seen that there are now single images available to purchase for use in CCR. There's lots to choose from.
Some of them however, have been layered ready for printing and cutting as one image on the Imagine.
So far you'll find Imagine ready images from Cindy Loo, Create A Critter and the mascots from Team Spirit. There's lots of other single images available on CCR now, but most of them haven't had the layering done to automatically print and cut on the Imagine.
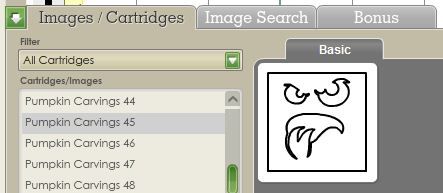
To tell if an image is "Imagine Ready" look at the CCR keypad. If the image preview appears in colour then it can be printed and cut on the Imagine. You'll notice it also has a tab titled Layered Images. That's a pretty big clue too! :)
If the preview appears in black and white then it won't be ready to print on the Imagine until you fill it with a colour or pattern from one of the Imagine carts.
So what do you need to do to print and cut the coloured single images? If you have an Imagine, simply place the image on your CCR mat, resize it if necessary and send it off to your Imagine. It will be printed and cut as one image. (Meaning that the layers won't be separated into separate objects.)
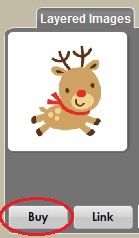
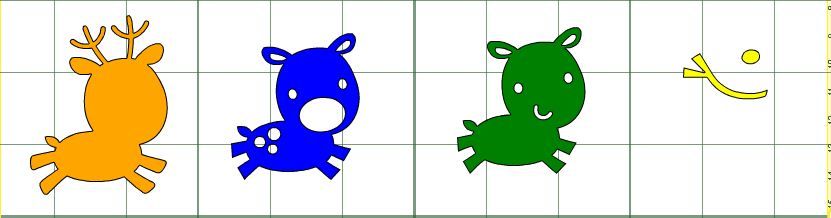
But what if you want to have some dimension for your image and cut each layer separately? No problem! Let's use Create A Critter -50 as an example.....
- First up, to cut that image you will need to purchase it from Cricut.com. Click on the Buy button below the image.
You will be taken to the Cricut.com shopping site where you can purchase that image (and any others you want to purchase.)
- Once your purchase is complete come back to CCR and log out. When you log back in the images you purchased will now appear in bold in the list of cartridges. They will also be added to your My Cartridges library.
- Select the image from the library and either single click to add it to the mat, or drag it from the keypad to your mat. The first picture below is what the image will look like if the Imagine is selected as the Default Machine in the Machine & Mat menu.
The second picture is how the image will look if any other Cricut is selected as the default machine.
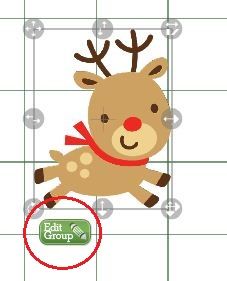
The next step is to separate the layers on the image.
- With the image on your mat selected, press the Edit Group Button.
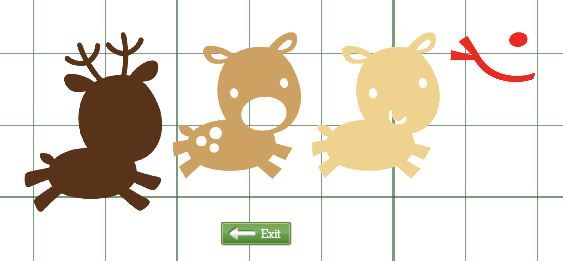
In the top right corner you will see the Combine/Separate boxes.
- Click the brown Separate button
The layers will be separated.
- Press the Exit button to return back to the main CCR screen.
I have found that once the layers are separated they seem to be slightly squashed together but they cut out just fine.
The images are now ready for you to send to your Imagine to be printed and cut as individual objects.
Be aware that each of the layers will have a light brown border around them as in the top row of images in the picture below.
If you don't want the border to print...
- Select the object on the mat and click the Ungroup button on the Toolbar.
When you cut them out they will look like the bottom row of images in the picture above. Notice that the mouth and some of the other feature lines didn't print.
Something to keep in mind.... For a good result, make sure you calibration is spot on!!
But "hang on" you say... "I don't have an Imagine!!!"
The good news is once you've separated and ungrouped these images you can cut them on all the other Cricuts with just a few more steps.
Because these are Imagine images CCR is looking for an Imagine when it goes to cut. When it sees that there's an E2 selected it doesn't cut. (Nothing happens when you click on the Cut button.)
So you just need to trick it into thinking you
have an Imagine....
- From the Machine & Mat menu select the Cricut that you will actually be cutting from. This makes it easier if you are using the Personal, Create or Mini because you don't have to guess where to place your images.
- Separate your layers as shown in the tutorial above and press the Exit button to return to the mat.
- Click anywhere on the group of images to select them then press the Ungroup button on the top toolbar.
- Click anywhere on the mat to deselect the images. You can now move each separate piece around on the mat.
If you're using just one CCR mat move your images around so that you can easily load your cutting mat with each of the different colour cardstock.
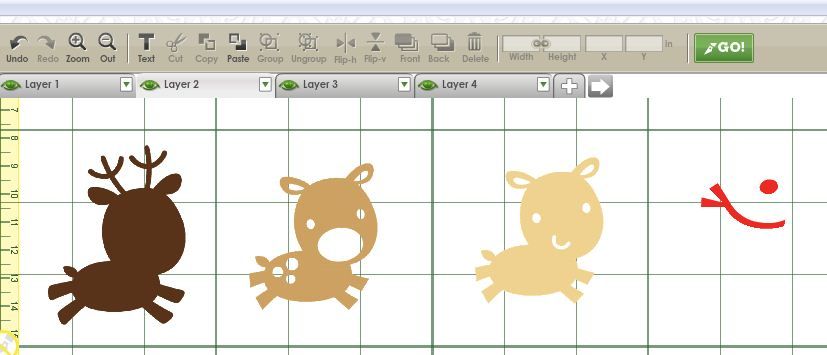
If you want to cut multiples of each layer you might want to create multiple mats at this stage and cut and paste each layer to its own mat. Then you can use the Autofill option to fill your mat or Image Quantity option to set how many of each shape you want. In the picture below you can see that I have used multiple mats as each layer is a different preview colour.
- Go to the Machine & Mat menu and select the Imagine as the default machine. (It doesn't matter that you don't have one....)
The images will change to the Imagine colours and the Cut button will change to a Go button.
- Make sure your Cricut is powered on and connected to your computer.
- Press the green Go button
Nothing will happen! (Other than the preview mat will change to the next mat if you have more than one. If that happened press the green arrow below the mat to go back to the first preview mat.)
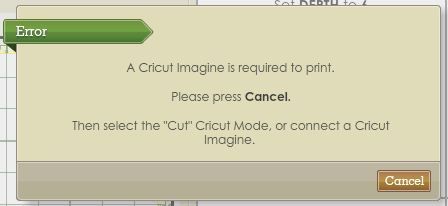
- From the Cricut Mode menu select Cut. If you forget to select Cut from this menu you'll get this error. If that's the case, press Cancel and go back and change the Cricut Mode to Cut.
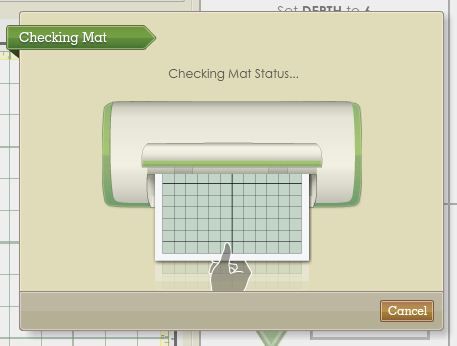
You'll see this message:
If you haven't loaded your mat when you press the Go button you'll then see this message:
- Load your mat and press Continue
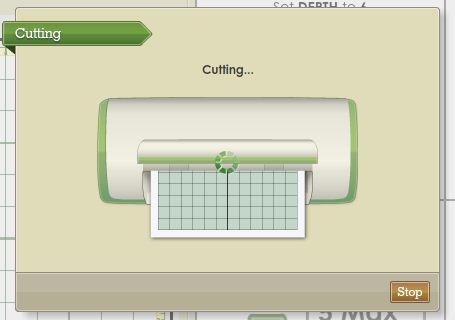
Then it should start to cut!
- Continue pressing the Go button until all your layers are cut swapping out your mats if necessary.)
I've tested this on my E2 and my Personal... and it works!!!
Let me know how it works for you!!!
Happy crafting! ♥


